
How to Erase iPhone to Sell
Our phones contain so much personal information. It isn’t just our photos, videos, and music, but everything from our social media accounts to streaming platforms and in-app purchases, and a whole lot more. So whether you want a fresh install on your iPhone or iOS device or about to make an upgrade, you need to follow these essential steps on how to erase iPhone to sell. In no time at all, you can ensure your phone is wiped clean and you’ve erased all your personal data. Let’s get started:
Before You Begin
You need to make sure all your apps are synced to iCloud, Google Drive, and any other services you use so you don’t lose anything important. Take a few moments to go through your settings and apps to see that all your data has recently synced. You can also connect your phone to your computer to do this process through iTunes.
It’s also helpful for you to transition to your new iPhone before you sell your old one. This way you can make sure you have all your data before you begin the erasing process.
- Go To Settings
- Make sure your iPhone is connected to Wi-Fi and the power adapter if lower on battery life.
- Select the Apple ID logo at the top of the page
- Tap on iCloud
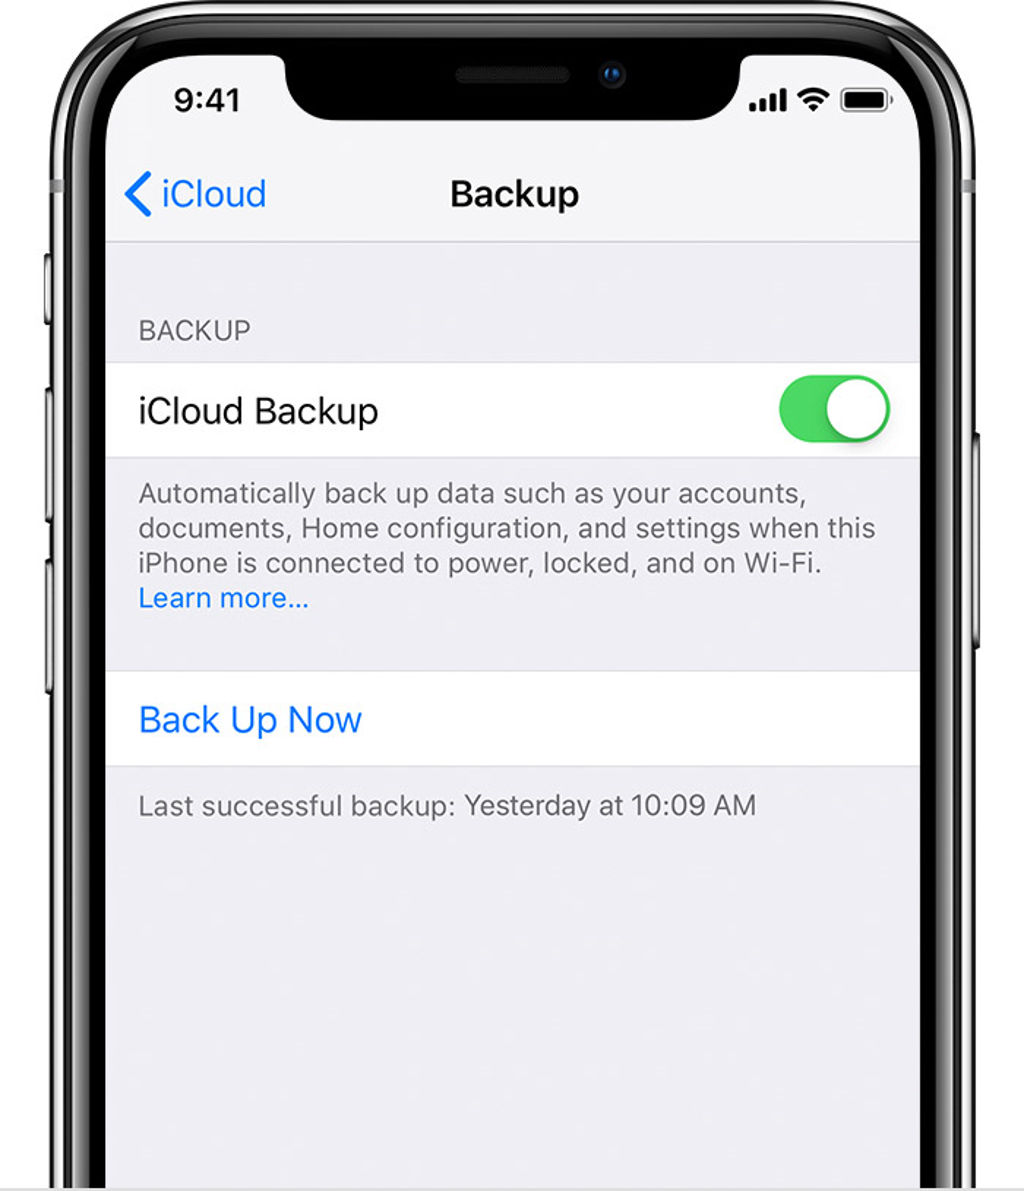
- Make sure iCloud BackUp is turned on. You can also choose to sync now if it hasn’t recently.
 You can do this same process through your computer on iTunes.
- Connect your phone to your computer
- Open iTunes if it doesn’t automatically pop up on screen.
- Select your iPhone in the menu bar
- Click Backup Now—for added security you can also use the Encrypt Backup feature
- If prompted backup apps.

How to Erase iPhone to Sell
If you want to erase the iPhone to sell from your phone, it’s quite easy. Apple designed iOS to completely erase all your data in just a few moments to ensure your privacy and security. To erase, follow these steps:

- Open Settings from your Home screen
- Select General
- Scroll to the bottom and tap Reset
- Select Erase All Content and Settings
- Now choose Erase iPhone
- Tap again to confirm
- Enter your passcode
- Now enter your Apple ID password which will remove the device from Find my iPhone and Activate Lock
- If switching to a non-Apple phone, you’ll also need to deregister iMessage.
After the process is complete, your device will be ready to set up as a new device or able to restore from a previous backup. Finally, you’ll be able to sell or give your iPhone to somebody else without worrying about your data privacy.
How to Erase Your iPhone After You’ve Sold It
Selling your phone can be a hectic process. If you forgot to erase your phone before you sold or gave it away, you can still protect your data. Follow these steps instead:
- Ask your phone’s new owner to follow the guidelines from above.
- Sign into iCloud and use the Find My iPhone Select the device, and click erase. After it’s been erased, click Remove from account.
- If either of these steps don’t work for you, then change your Apple ID. This won’t protect your old data, but it will prevent any further issues.
- If you’re using Apple Pay, remove all cards. You can also login to your online accounts and manually log out the old phone to further protect yourself.
- Deregister iMessage
Get Ready to Sell Your iPhone
Whether you have your iPhone or not, it’s extremely easy for you to erase your iPhone. Before you do anything, however, make sure all your apps, photos, and other devices are synced to the cloud. It’s good practice to do this routinely anyway as you never know when you might accidentally lose or damage your phone. From here, you can use erase the phone through device settings or remotely erase it through iCloud. Either way, your phone will be completely cleaned of your personal data and you’ll be ready for your next iPhone upgrade.
Now that your phone is totally erased, it’s ready to sell. Click here to see just how much you can get for your old iPhone!