The iPad is a useful piece of equipment, and yours should last you a good long while, particularly if you take the best possibl`e care of it. That would involve treating it gently and also keeping it clean. Cleaning your iPad’s various components is not that difficult, especially if you have the right tools. Those tools are not particularly expensive, and in this article, we’ll talk about which ones will serve you best. We’ll also go over what parts of the iPad it is practical for you to clean.

The Parts of Your iPad That Can Be Cleaned

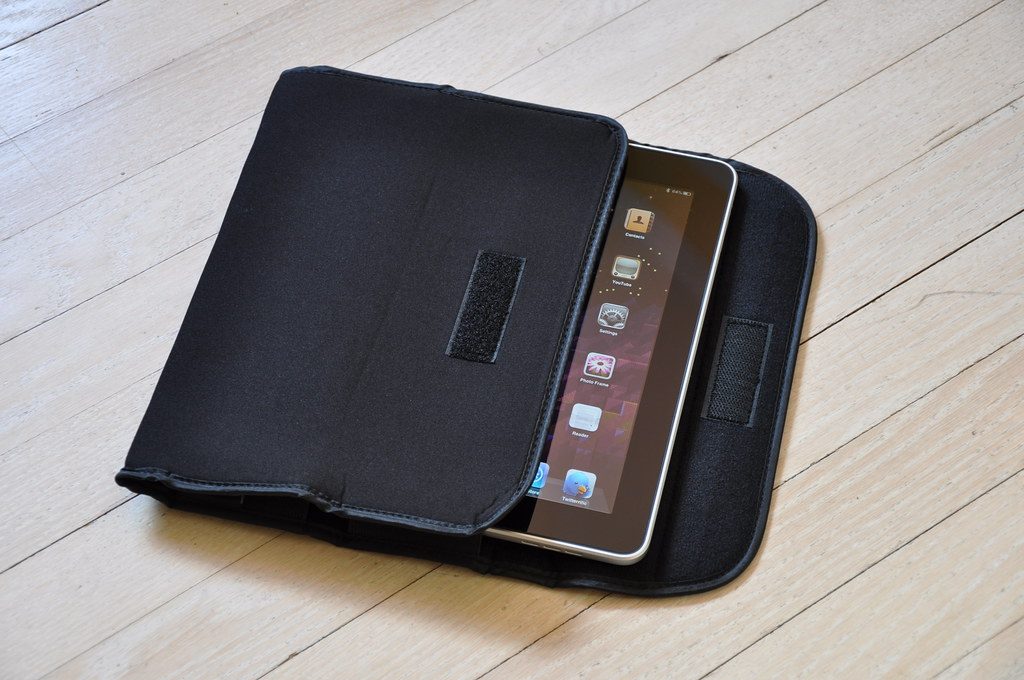
iPad tablets are stripped-down versions of computers, designed so that they can be portable. In order to make sure that yours lasts for as long as possible, you should consider getting a protective case for it. There are several different companies that make protective cases that are designed specifically for the iPad.
Maybe you’re the sort of person who brings your iPad on public transportation, uses it at work, or takes it to places like the public library or on trips. In any of those circumstances, you should try and protect it. You can carry the tablet in a handbag or a purse so that there is less chance of you dropping it. You should also only take the iPad out and use it in a sanitary environment. If you use it outside, then the risk of it getting dirty or sticky is much higher.
If it does get dirty, the parts that are going to be possible for you to clean would be the screen, the charging port, and the speaker. Any other elements of the tablet will be internal, and it’s almost impossible for you to get to them.
How to Clean an iPad’s Screen

Your iPad’s screen getting smeared with fingerprints is something that is fairly common. The screen is meant to be touched, but it’s also smart to get in the habit of cleaning it periodically. There is no established rule for how often you should clean it, but at least once a month seems reasonable.
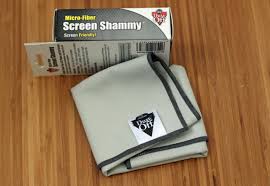
Apart from fingerprints, there are lots of other elements that might come into contact with your iPad’s screen. Those might include ink, food, dirt, soap, lotion, and makeup. A lint-free or microfiber cloth would be the best tool for this job. Smooth fabrics used for cleaning camera lenses or glasses lenses are just right. You can buy them on Amazon or other online marketplaces, or you can get them in some brick-and-mortar stores as well.
You can moisten the cloth very slightly with water. It shouldn’t be dripping, so if it is, wring it out. Apple warns on its website against using any other kind of household cleaner, as those could damage the iPad. iPads have what is called oleophobic coating on the screens. This is an oil-resistant substance. It will wear away with time, but it’s going to last longer if you don’t ever use any abrasives, solvents, ammonia, window cleaners, aerosol cleaners, etc. on it.
Unplug your iPad from your computer, wall outlet, or anything else as you get ready to clean it. Power it down as well. Wipe the screen down gently with the cloth using small circular motions, and you should be all set. You can press a little harder for stubborn fingerprints or other stains, but don’t ever get too rough with the device.
A Word About Compressed Air Canisters

For some other parts of the iPad, you might be tempted to use a compressed air canister. These seem as though they might be particularly useful for parts of the tablet like the speaker or the charging port. Indeed, some Apple device users have reported positive outcomes when they use them.
However, Apple warns against it, and we concur. There are delicate internal components in the ports and speakers of your iPad, and compressed air can shoot out at a high velocity, even if that wasn’t necessarily your intention. Like household cleaners, it’s best not to use it on an iPad, especially when there are alternatives that are a lot safer.
If you use compressed air on your iPad, and you damage it, then you’ll probably be stuck paying for the repairs. That can get costly, even if you have insurance for the device. If you read the fine print, you’ll see that compressed air and unapproved cleaners or solvents are likely going to be against your policy.
How to Clean Your iPad’s Charging Port
Your charging port is another area of your iPad where dust, dirt, food particles, and other debris can easily accumulate. It needs to be clear of these sorts of contaminants, or else your tablet might not be able to effectively connect with the charger and power up as it should.
An implement like a wooden toothpick is going to be your best bet for this part of the iPad. Make sure that you use wood rather than a metal or plastic toothpick, as this variety is much less likely to cause any damage.
Get a flashlight and have a friend or family member hold it at such an angle that they’re shining it into the port. You should be looking for dirt, caked-on dust, etc. Insert the toothpick delicately into the port, and try to remove the largest pieces of lint or dust. Don’t just blindly jab it in there; you’re trying to clean with a purpose.
Once you’re done cleaning, you can try charging your iPad again and see if it is any more effective this time.
How to Clean Your iPad’s Speaker

The final area that you can clean on your iPad would be the speaker. If you’re the sort of person who likes listening to music or watching TV shows or movies on your tablet, then dirt and grime clogging the speaker can be a real annoyance for you.
Your best weapon here will be an unused, soft-bristled toothbrush. You can get one easily enough through an online marketplace like Amazon, or at a pharmacy, grocery store, etc. It would also be acceptable to use an electronic toothbrush if you load it up with a brand-new brush head.
Use a gentle scrubbing motion and try to work the brush’s bristles down into the crevices of the speaker. Pucker your mouth and blow away any gunk that you’ve managed to dislodge.
The one other method that some people swear by for iPad speakers is to use painter’s tape. Painter’s tape is blue tape that you put on walls to guide you as you’re painting areas that require delicacy. It’s intended to avoid sloppy painting, but you can use it for speaker cleaning as well because it has a pressure-sensitive adhesive quality.
Tear off a short piece of the tape and toll it up into a cylinder. The sticky side should be facing out. Its width should be about the size of one of your fingers. Slip the rolled-up tape over your index finger, and then press it carefully into the iPad’s speaker. Any dirt or grime that is in there should be picked up by the adhesive.
After you remove your finger, check it to see how much success you’ve had. You can shine a flashlight inside the speaker to see if you can spot any more accumulation. If you can see more, then repeat the process a couple of times. You could even try a combination of painter’s tape and a toothbrush if you think that there’s an exceptional amount of gunk built up inside the cavity.
Once you’re done, see if the sound quality coming from the speaker is any better.
It’s not a bad idea to go through this cleaning process for the iPad every few weeks. Protecting the tablet as much as possible will prevent it from getting dirty in the first place, but a little accumulation is difficult to avoid, even if you’re very protective of your device. This sort of maintenance will ensure that you get as long of a life as possible out of this expensive piece of equipment.


